
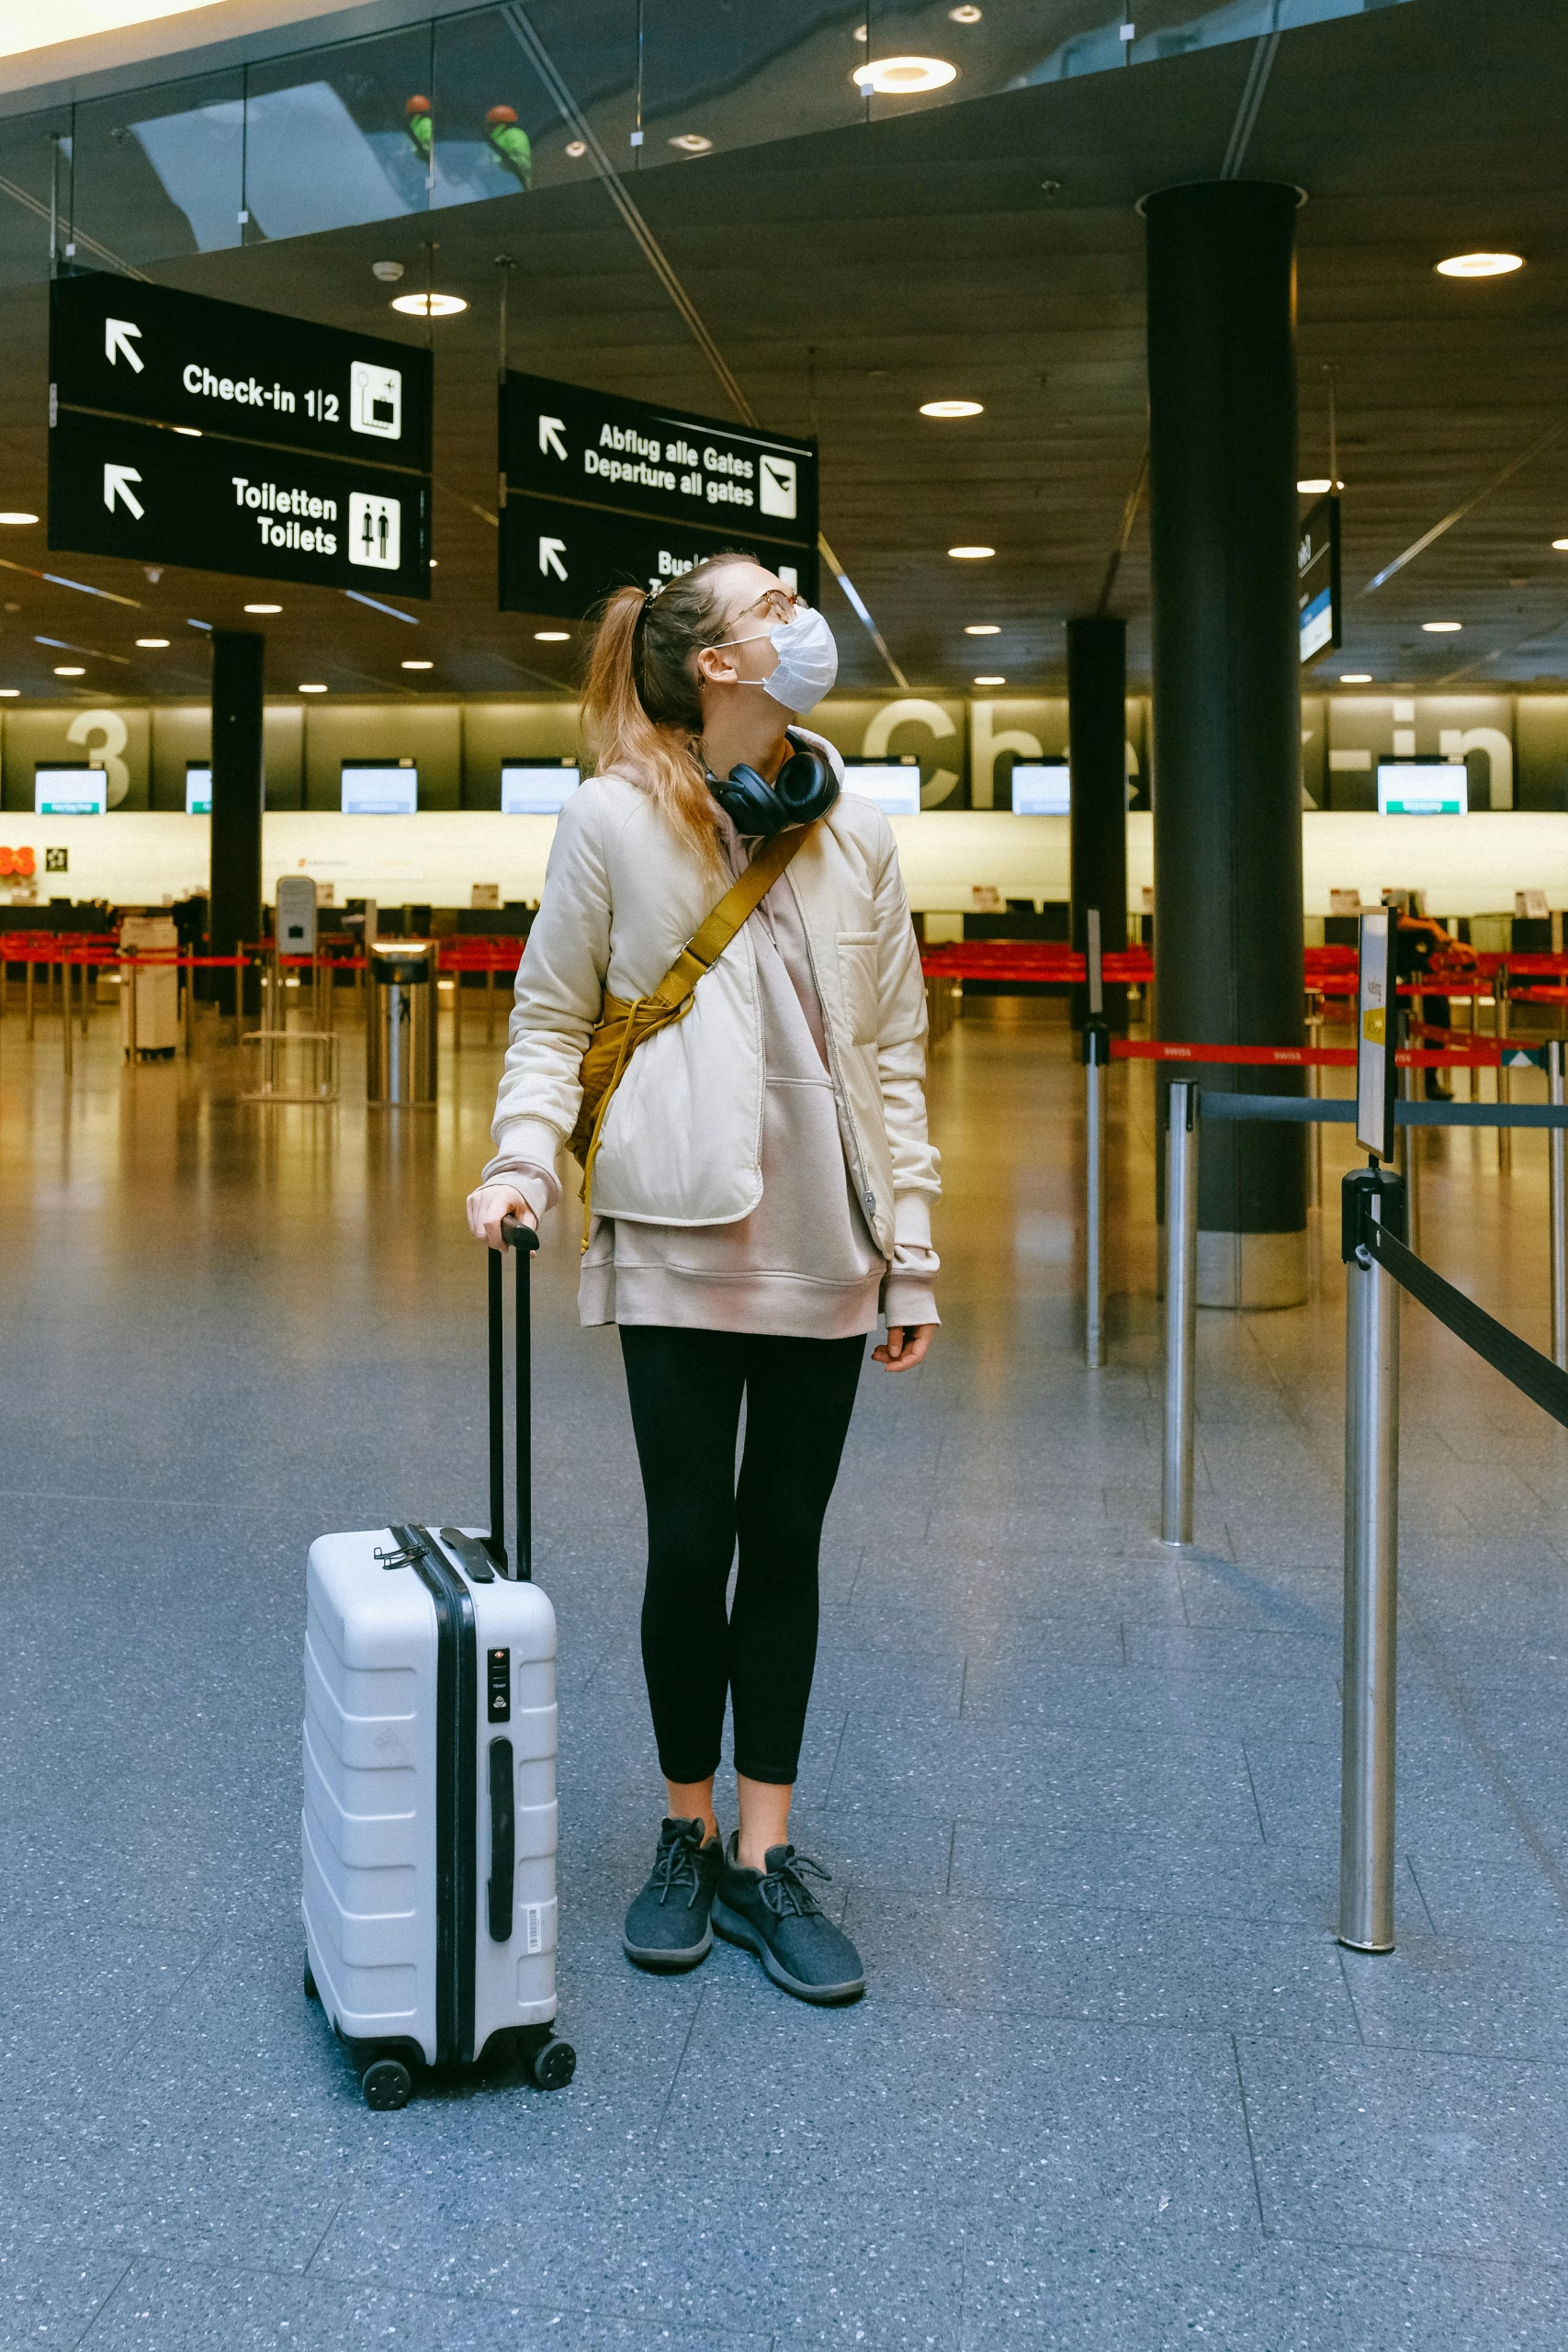
A solo travel eSIM is the fastest way to land in a new country already online — no kiosk queue, no language barrier at a carrier counter, no fumbling with a paperclip over a bathroom sink. You install it at home, switch it on when you arrive, and your maps, messages, and bookings work from the moment you clear immigration.
When you travel alone, that connection carries more weight. There is nobody else holding a backup phone, reading the platform signs, or remembering the hotel address. Below you’ll find how a solo travel eSIM works, how to set one up, how to keep your home carrier from billing you, and how to make your data last the whole trip.
Key takeaways
- Install your solo travel eSIM at home over Wi-Fi, then leave the line switched off until you land.
- Keep your home SIM active for bank codes and texts, but turn its data roaming off.
- Set the eSIM as your default data line so nothing routes through your home carrier by accident.
- Telekonek covers 200+ countries on one plan, so a multi-country trip needs one setup, not five.
- Download offline maps and check your plan’s validity window before you fly.
How a Solo Travel eSIM Works
An eSIM, short for embedded SIM, is built into your phone rather than slotted into it. Instead of swapping a physical card, you download a carrier profile digitally and activate a data plan from wherever you are. That matters most when you’re moving between destinations on your own, because a solo travel eSIM lets you change countries without changing hardware.
Getting started
- Check device compatibility: Every iPhone from the iPhone 12 onward supports eSIM, along with most recent Android flagships. Dial *#06# — if you see an EID number, your phone is eSIM-ready. You can also check the full list of eSIM-compatible devices.
- Unlock your device: Confirm your phone is carrier-unlocked. A locked handset is tied to one network and cannot run a solo travel eSIM. US iPhone models from the 14 onward are eSIM-only, with no physical tray at all.
- Choose your plan: Pick data and validity that match your route. Telekonek lets you set both rather than forcing you into a fixed bundle.
- Install it: Scan the QR code or enter the activation details in your settings. It takes a couple of minutes.
- Switch as you go: Phones from the iPhone 13 onward hold two active eSIM profiles, so you can keep plans stored and toggle between them at a border.
Why it suits travelling alone
- Nothing to lose: No tiny card to drop on a hostel floor, and your home SIM never leaves the phone.
- Online before you’re outside: You’re connected at the gate, not after you’ve found the arrivals hall counter.
- One plan across borders: A single solo travel eSIM covers a multi-country route without a new purchase each time.
- No registration desk: You skip the passport photocopy and the wait that comes with a local prepaid card. If you want the full side-by-side, see local SIM versus travel eSIM.
Managing Calls and Texts on a Solo Travel eSIM
The most common worry about a solo travel eSIM is what happens to your normal number. Here’s how each piece behaves.
Text messages
- Receiving: With your primary line still active, texts to your usual number still arrive — including bank verification codes, which matters when you’re the only one who can approve a card payment. Your home carrier may charge for these.
- Sending: Depending on your settings, replies may go out from whichever line is set as default. Check before you send anything that needs to come from your usual number.
- Tip: Set iMessage and SMS to send from your home number if consistency matters to the people expecting to hear from you.
Calls
- Incoming: You’ll still receive calls on your primary number, at your home carrier’s international rates.
- Outgoing: Use WhatsApp, FaceTime, or Signal over your solo travel eSIM data instead of dialling directly. Same conversation, no per-minute charge.
- Tip: Tell one person at home which app you’ll be reachable on. Solo trips go smoother when someone knows how to reach you without guessing.
Most phones let you run your eSIM for data while your primary number handles calls and texts. That split is the setup you want.
Avoiding Charges from Your Home Carrier

A solo travel eSIM only saves you money if your home line stays quiet in the background. Configure it once, before you fly.
On iPhone
- Turn off roaming on your primary line: Go to Settings > Cellular (or Mobile Data), select your home carrier line, and toggle off Data Roaming.
- Set the eSIM as your data line: In the same menu, tap Cellular Data and choose your Telekonek line.
- Turn off cellular data for the home line: Scroll to your primary line and switch Cellular Data off entirely. This is the belt-and-braces step.
- Optional — Airplane Mode plus Wi-Fi: Useful on arrival days when you want Wi-Fi only until you’re ready to activate.
On Android
- Turn off roaming on your primary line: Settings > Connections > Mobile Networks, select your home SIM, and toggle Roaming off.
- Set the eSIM as default for data: Settings > Connections > SIM Card Manager, then pick your solo travel eSIM under Mobile Data.
- Turn off mobile data for the home line: Back in Mobile Networks, select your primary SIM and switch Mobile Data off.
- Optional — Airplane Mode plus Wi-Fi: Same principle as iPhone, from the Quick Settings panel.
Then test it. Confirm the eSIM is connected, watch which line your data counter moves under, and do this a day before departure rather than in a taxi queue.
Using Your Apps on a Solo Travel eSIM
Once the line is live, everything works exactly as it does at home. Navigation, translation, social, messaging, and booking apps all run over your solo travel eSIM data without any special configuration.
Solo travellers lean hardest on four of them: a map for the walk back at night, a translation app for menus and pharmacy counters, a messaging app for check-ins with someone at home, and a booking app for the accommodation you have not seen yet. Keep those four working and the rest is optional.
Stretching your data across apps
- Download offline maps: Save your destination city before you fly. Offline maps still show your GPS position with no data at all.
- Pre-load content: Playlists, shows, and documents over home Wi-Fi, not over your plan.
- Limit background refresh: On iOS, Settings > Cellular and switch off apps you don’t need live. On Android, Settings > Network & Internet > Mobile Data Usage and restrict background data.
- Turn off video autoplay: Social feeds are the quietest way to burn a gigabyte.
Join Wi-Fi where it’s reliable and your phone will prefer it automatically, holding your solo travel eSIM data in reserve. Keep anything sensitive — banking, card payments, passport uploads — on your mobile connection rather than an open network.
Why Telekonek Works for Solo Travellers
Telekonek is built for exactly this trip: one person, several countries, no interest in queuing at an airport counter.
- 200+ countries on one plan: Your solo travel eSIM follows the route instead of the border. Add a country to the itinerary and your setup doesn’t change.
- Customisable data and validity: Choose your own allocation and duration rather than paying for a fixed bundle sized for someone else’s trip.
- Minutes to activate: Scan a QR code and you’re set — before the flight, not after it.
- Top up from the app: Running low in the middle of a trip means a few taps, not finding a shop that sells credit.
If your route crosses regions — Southeast Asia into Australia, or several countries across Europe — one plan carries the whole thing. Browse Telekonek plans by destination and set yours up before you leave.
Making Your Solo Travel eSIM Data Last
Nobody else is going to hotspot you if you run out. A few habits keep your plan alive to the last day.
- Check usage every few days: On iOS, Settings > Cellular. On Android, Settings > Connections > Data Usage. Set an alert so you find out early rather than at zero.
- Drop streaming quality: Standard definition is fine on a phone screen and uses a fraction of the data.
- Update apps over Wi-Fi only: On iOS, Settings > App Store. On Android, Play Store > Settings > Auto-Update Apps.
- Save the heavy stuff: Long video calls and large uploads belong on hotel Wi-Fi, not on a solo travel eSIM plan you need for maps tomorrow.
Solo Travel eSIM Mistakes to Avoid
Most problems trace back to something skipped before departure.
- Installing on arrival: Installation usually needs an internet connection. Do it at home, over Wi-Fi you trust, and leave the line switched off until you land.
- Missing the validity window: Plans run for a set period — 7, 15, or 30 days. Check that your solo travel eSIM covers your return date, not just your outbound one.
- Leaving the home line on data: The single most expensive oversight. Confirm roaming is off before you board.
- Trusting public Wi-Fi: Airport and café networks are slow, patchy, and open. Fine for a menu, wrong for your bank.
- Not saving support details: Store your provider’s support contact offline, alongside your hotel address and passport scan.
Conclusion
Travelling alone brings enough decisions without adding connectivity to the pile. A solo travel eSIM removes the airport counter, the language barrier, and the roaming bill in one step — and you arrange it before you leave home, when you have time to check it works.
Install it early, turn roaming off on your home line, set the eSIM as your data line, and download your maps. That’s the whole setup. Find your Telekonek plan and land connected on your next trip.